When a mushroom grow fails, it rarely fails for a mysterious reason. Almost every stalled bag, mouldy block or crop of strange, stretched mushrooms comes back to one of the same few mistakes, and nearly all of them are cheap to fix once you know what to look for. Start with the symptom table, then jump to the mistake it points to.
Quick diagnosis: match the symptom
| What you see | Most likely cause | See |
|---|---|---|
| Grain still bare after 2 to 3 weeks | Failed inoculation, or the bag is too cold | Mistake 4 |
| Sour smell, wet or slimy grain or substrate | Too wet, bacteria | Mistake 1 |
| Green patches | Trichoderma mould, usually hygiene or opening too early | Mistakes 6 and 12 |
| Fully white but no pins | No fresh air, humidity or light | Mistakes 3 and 5 |
| Long stems, tiny caps, fuzzy bases | Too much CO2 | Mistake 3 |
| Thick white mat on the surface, no pins | Overlay from too little fresh air | Mistake 3 |
| Pins turn brown and shrivel | Too dry, or drafts | Mistake 2 |
| Cracked caps, dry curled edges | Dry air | Mistake 2 |
| Yellow droplets on the mycelium | Stress, often heat | Mistake 4 |
| Pale, twisted mushrooms | Not enough light | Mistake 5 |
| Mould soon after spawn to bulk | Spawned too early, or too little spawn | Mistakes 7 and 10 |
Moisture mistakes
1. Substrate that is too wet
Symptoms: water pooling in the bottom of the bag, slow or patchy colonisation, slimy patches and a sour smell.
Why it happens: waterlogged substrate leaves no air for the mycelium and is ideal for bacteria.
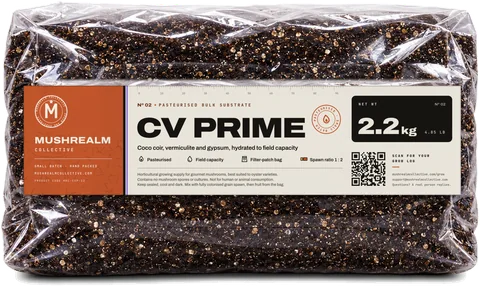
Fix: keep substrate at field capacity, where a hard squeeze gives a few drops, not a stream. Never add water to a substrate that is already there. CV Prime arrives hydrated to field capacity, so it needs nothing added. If water collects in the bottom of a fruiting container, drain it. More in field capacity explained.
2. Letting the surface dry out at fruiting
Symptoms: pins that darken and shrivel, cracked caps, dry yellowish edges, and a surface that turns from moist to dull.
Fix: keep humidity around 85 to 95% while fruiting. Mist the air and the container walls a few times a day rather than drenching the pins, and keep bags away from radiators, heaters and drafts. If you are fruiting from slits in a bag, a loose, clear plastic tent with a few holes over the slits helps hold moisture in.
Air, temperature and light
3. Not enough fresh air
Symptoms: long stems with tiny caps, oyster clusters that look like coral, fuzzy white bases, a thick surface mat (overlay) or no pins at all.
Why it happens: mycelium breathes out carbon dioxide. When it builds up, mushrooms stretch toward fresher air instead of forming proper caps.
Fix: fan the container two to four times a day, add holes, or put the bag somewhere with gentle air movement. Big closed containers with few holes are the usual culprit. More air dries surfaces faster, so mist a little more when you increase it.
4. The wrong temperature
Symptoms: too hot gives slow colonisation, yellow metabolites and mould, because many moulds thrive in warmth. Too cold gives grain that sits there doing very little.
Why it happens: colonising bags make their own heat, so the middle of a bag can run warmer than the room around it.
Fix: colonise most oysters at about 20 to 24°C (68 to 75°F). Keep bags off the top of the fridge, away from heaters and out of sunny windows, and leave space between them. At fruiting, blue and grey oysters are happy a little cooler, while pink and golden oysters prefer warmer rooms. Our guide to mushroom fruiting conditions lists ranges by species.
5. Fruiting in the dark, or in direct sun
Symptoms: in darkness, pale, twisted mushrooms that grow in odd directions. In direct sun, a dried-out, overheated bag.
Fix: mushrooms use light as a cue, not as food. Indirect daylight or an ordinary LED on for about 12 hours a day is enough. A common rule of thumb is enough light to read by. Oysters turn toward the light, so light the side where you cut the slits.
Timing mistakes
6. Opening bags too early
Opening a sterile grain bag "just to check", or cutting a substrate bag open before it is fully colonised, lets contaminants in while the mycelium cannot yet defend the material. Watch through the bag instead: the filter patch handles the breathing. Only open a bag for fruiting once it is white throughout.
7. Spawning to bulk too early, or too late
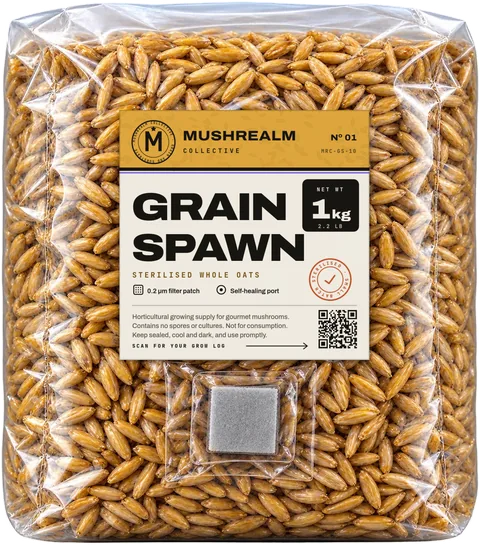
Mixing partly colonised grain into substrate spreads bare grain, which is easy food for mould. Wait until the grain is fully colonised, then give it a few extra days. Do not leave it for weeks after that either: old spawn loses vigor and oysters may start pinning inside the grain bag. Our spawn to bulk guide explains how to judge it.
8. Impatience: poking, moving and peeking
Moving bags around, shaking a substrate bag once it has started to colonise, or opening a fruiting container every hour all set the grow back. Here is a realistic timeline for blue and grey oysters at good temperatures:
| Stage | Typical time |
|---|---|
| Grain colonisation | 10 to 21 days |
| Bulk substrate colonisation | 7 to 14 days |
| Fruiting conditions to first pins | 5 to 10 days |
| Pins to harvest | 4 to 7 days |
| Rest between flushes | 7 to 14 days |
If your bag is within these windows, it is probably fine. Leave it alone.
9. Harvesting too late
Pick oysters when the cap edges are still curled under or just starting to flatten. Once the caps are fully flat and the edges turn up, the texture goes tough and dry and the flavour fades. Twist or cut off the whole cluster at the base rather than picking single mushrooms.
Setup mistakes
10. Too little spawn
Low spawn ratios mean slow colonisation and a long window for competitors. Most home growers use between 1:1 and 1:4 grain to substrate, and the more spawn you use, the faster and safer colonisation tends to be. Our kits pair grain and CV Prime at about 1:2 by weight, and the grain and substrate planner works out quantities for any number of grows.
11. The wrong species for the substrate
Oysters thrive on coir and vermiculite. Wood lovers such as shiitake, lion's mane, maitake and reishi fruit best on supplemented hardwood sawdust, and on CV they tend to fruit poorly, if at all. We do not sell sawdust, so we say this plainly: for wood lovers, use our grain spawn to spawn sawdust or logs instead.
12. Sloppy hygiene
Working bare-handed, in a drafty kitchen, or right next to a mouldy bag or a fruiting chamber is the fastest route to green patches. Use 70% isopropyl alcohol, nitrile gloves and a still air box for any open work, and get contaminated bags out of the house without opening them. Our clean technique guide covers the whole routine.
After the first flush
13. Throwing a bag out after one flush
The first flush is usually the biggest, but a healthy bag often gives two to four. After harvesting, pull out any stumps, rehydrate the substrate by soaking or heavy misting, and put it back into fruiting conditions. Our guide on how to get a second flush walks through it. Only retire a bag when flushes become tiny or contamination appears.
The short version
- Fully colonised but not pinning: more fresh air, 85 to 95% humidity, indirect light, slightly cooler.
- Long stems and fuzzy bases: more fresh air.
- Dry, dark pins and cracked caps: more humidity, fewer drafts.
- Slimy or sour: too wet. Stick to field capacity.
- Green patches: contamination. Tighten hygiene and stop opening bags early.
- Wait for full colonisation before spawning or fruiting, use enough spawn, and match the species to the substrate.
- Do not give up after one flush.
If you are still stuck, our grain spawn contamination guide helps you work out whether you are looking at mould or healthy mycelium.
Frequently asked questions
Why are my mushrooms not growing?
Why is my mushroom bag not pinning?
Why do my oyster mushrooms have long stems and small caps?
Why did my mushroom pins turn brown and dry up?